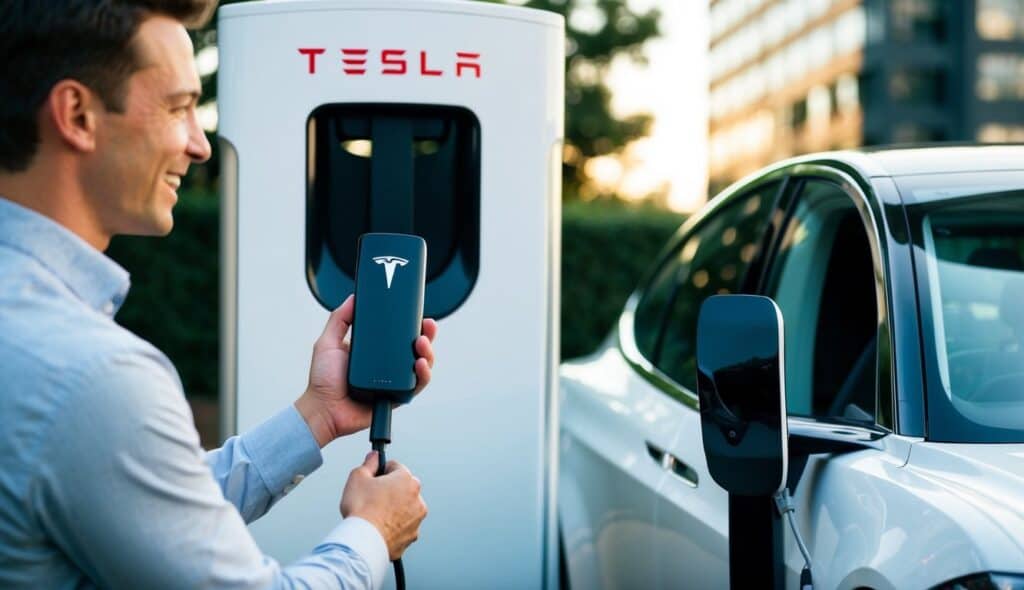
As a Tesla owner, you understand the importance of having a reliable and efficient home charging solution. The Tesla Wall Connector is designed to provide a seamless charging experience, allowing you to plug in your vehicle overnight and start your day with a fully charged battery. However, before enjoying these benefits, you need to commission your Wall Connector correctly. This article will walk you through commissioning, addressing common issues and providing detailed solutions to ensure your Wall Connector operates flawlessly.
Understanding the Commissioning Process
Commissioning your Tesla Wall Connector involves configuring various settings to match your home’s electrical infrastructure and charging needs. This process includes setting up the circuit breaker size, connecting to Wi-Fi, and enabling power-sharing options. Proper commissioning ensures that your Wall Connector operates safely and efficiently.
Why Commissioning is Important
Commissioning is a critical step that ensures your Wall Connector:
- Operates Safely: Configuring the correct circuit breaker size prevents electrical overloads and potential hazards.
- Maximizes Efficiency: Proper setup ensures optimal charging speeds and power distribution.
- Enables Remote Monitoring: Connecting to Wi-Fi allows you to monitor and control your Wall Connector via the Tesla app.

Step-by-Step Guide to Commissioning Your Tesla Wall Connector
You can follow the below steps to commission your Tesla wall connector.
1. Preparing for Commissioning
Before you begin the commissioning process, gather the necessary tools and information:
- Installation Quickstart Guide: This guide includes a QR code needed for commissioning.
- Smartphone or Tablet: You’ll use the Tesla app to complete the setup.
- Wi-Fi Network Information: Ensure you have your Wi-Fi network name and password handy.
- Circuit Breaker Specifications: Know the amperage rating of the circuit breaker connected to your Wall Connector.
2. Powering On the Wall Connector
To start the commissioning process, you’ll need to power on your Wall Connector:
- Turn On the Circuit Breaker: Ensure the circuit breaker connected to your Wall Connector is turned on.
- Verify Power: Check the LED indicator on the Wall Connector. A solid green light indicates that the device is powered on and ready for commissioning.
3. Connecting to the Tesla App
The Tesla app is essential for commissioning your Wall Connector. Follow these steps to connect:
- Download the Tesla App: If you haven’t already, download the Tesla app from the App Store or Google Play.
- Log In: Use your Tesla account credentials to log into the app.
- Scan the QR Code: Locate the QR code on the front of the Installation Quickstart Guide and scan it using the Tesla app. This will initiate the commissioning process.
4. Configuring Circuit Breaker Size
Setting the correct circuit breaker size is crucial for safe and efficient operation. Follow these steps:
- Select Circuit Breaker Size: In the Tesla app, navigate to the “Installation Settings” card on the commissioning home screen.
- Choose the Correct Amperage: Select the amperage rating that matches your circuit breaker. This ensures that your Wall Connector draws the appropriate amount of power without overloading your home’s electrical system.
5. Connecting to Wi-Fi
Connecting your Wall Connector to Wi-Fi enables remote monitoring and updates. Here’s how to do it:
- Access Wi-Fi Settings: In the Tesla app, go to the Wi-Fi settings section.
- Select Your Network: Choose your home Wi-Fi network from the list of available networks.
- Enter Password: Input your Wi-Fi password to connect the Wall Connector to your network.
- Verify Connection: Ensure the Wall Connector is successfully connected by checking the Wi-Fi signal indicator in the app.
6. Enabling Power Sharing
If you have multiple Tesla vehicles or Wall Connectors, enabling power sharing can optimize charging efficiency. Follow these steps:
- Access Power Sharing Settings: In the Tesla app, navigate to the power sharing section.
- Add Additional Wall Connectors: If you have more than one Wall Connector, add them to the network.
- Configure Power Distribution: Set the maximum power limit for each Wall Connector to ensure balanced power distribution among all connected devices.
Check out How to Turn On Autopilot Tesla?
Troubleshooting Common Issues
You may encounter some issues during the commissioning process despite following the steps above. Here are some common problems and their solutions:

Issue 1: Wall Connector Not Powering On
Solution:
- Check Circuit Breaker: Ensure the circuit breaker is turned on and functioning correctly.
- Verify Wiring: Double-check the wiring connections to ensure they are secure and correctly installed.
- Inspect LED Indicator: If the LED indicator is not lit, there may be an issue with the Wall Connector itself. Contact Tesla support for further assistance.
Issue 2: Unable to Connect to Wi-Fi
Solution:
- Check Wi-Fi Signal: Ensure your Wi-Fi signal is strong enough to reach the Wall Connector. Consider moving your router closer or using a Wi-Fi extender.
- Re-enter Password: Double-check that you have entered the correct Wi-Fi password.
- Restart Devices: Restart both your Wall Connector and your router to refresh the connection.
Issue 3: Incorrect Circuit Breaker Size
Solution:
- Verify Amperage Rating: Double-check the amperage rating of your circuit breaker and ensure it matches the setting in the Tesla app.
- Reconfigure Settings: If necessary, reconfigure the circuit breaker size in the Tesla app to match the correct rating.
Issue 4: Power Sharing Not Working
Solution:
- Check Connections: Ensure all Wall Connectors are properly connected to the same network.
- Update Software: Make sure all Wall Connectors have the latest software updates installed.
- Reconfigure Power Limits: Adjust the power limits in the Tesla app to ensure balanced distribution.
Check out What Does Dual Motor Mean on a Tesla?
Advanced Configuration Options
For advanced users, the Tesla Wall Connector offers additional configuration options to optimize performance further:
Adjusting Charging Speeds
You can adjust the charging speed to match your specific needs:
- Access Charging Settings: In the Tesla app, navigate to the charging settings section.
- Set Charging Speed: Adjust the charging speed to a lower rate if you have limited electrical capacity or to a higher rate for faster charging.
Scheduling Charging Times
Scheduling charging times can take advantage of off-peak electricity rates:
- Access Schedule Settings: In the Tesla app, go to the schedule settings section.
- Set Charging Times: Choose the start and end times for charging to align with off-peak hours.
Monitoring Usage
Keep track of your charging usage to manage electricity costs:
- Access Usage Reports: In the Tesla app, navigate to the usage reports section.
- View Detailed Reports: Review detailed reports on your charging sessions, including energy consumption and costs.
Conclusion
Commissioning your Tesla Wall Connector is a crucial step to ensure safe, efficient, and convenient home charging. Following the steps outlined in this guide, you can configure your Wall Connector correctly, troubleshoot common issues, and use advanced features to optimize your charging experience.
Proper commissioning not only guarantees that your Wall Connector operates safely within your home’s electrical capacity but also ensures that you can enjoy the full benefits of Tesla’s advanced charging technology. From setting the appropriate circuit breaker size to connecting to Wi-Fi and enabling power sharing, each step is designed to maximize the efficiency and reliability of your Wall Connector.
Benefits of a Properly Commissioned Wall Connector
- Safety: Correctly setting up the circuit breaker size and ensuring proper wiring minimizes the risk of electrical hazards.
- Efficiency: Optimal configuration allows for faster and more efficient charging, reducing the time your vehicle needs to be plugged in.
- Convenience: Features like remote monitoring, scheduling charging times, and adjusting charging speeds provide greater control and flexibility.
- Cost Savings: By scheduling charging during off-peak hours and monitoring usage, you can manage and potentially reduce your electricity costs.
Final Tips
- Regular Updates: Ensure your Wall Connector’s firmware is always up to date. Tesla frequently releases updates that improve performance and add new features.
- Professional Assistance: If you encounter persistent issues or are unsure about any part of the commissioning process, don’t hesitate to seek professional help. An electrician or Tesla support can provide the necessary assistance.
- Explore Advanced Features: Take time to explore and utilize the advanced features available in the Tesla app. These features can significantly enhance your charging experience and provide better insights into your energy usage.
By taking the time to commission your Tesla Wall Connector properly, you can ensure a seamless and efficient charging experience that complements the innovative technology of your Tesla vehicle. Enjoy the peace of mind of knowing your home charging setup is optimized for performance, safety, and convenience.
If you have any questions or need further assistance, Tesla’s customer support is always available to help you make the most of your Wall Connector. Happy charging!
You may also like:
- How to Clean Tesla White Seats
- Why is My Tesla Not Charging?
- Why Is Tesla Registration So Expensive?
- How Many Miles Can a Tesla Go on One Charge?

Hi, I’m Marybeth, an electric car enthusiast living in New York in the USA. As the owner of electriccartalks.com, I love sharing my knowledge on EV tips, battery maintenance, and charging solutions. As a proud Tesla owner, I blend my personal experiences with professional insights to offer valuable information to fellow EV enthusiasts. Through my articles, I aim to empower others to make informed decisions about their electric vehicles. Read more